How to Attach a Plant to a Moss Pole (Step-by-Step)
A moss pole only works if your plant actually uses it. Push a pole into the pot, loosely tie a few stems to it, and many plants will simply lean away and keep growing sideways. Attach it the right way and your monstera, pothos or philodendron will start rooting into the moss within weeks, producing bigger, healthier leaves as it climbs.
Here is the step-by-step method we use at Mossify.
What you will need
- A moss pole that fits your plant. Our Original Bendable Moss Pole™ comes in 16", 30", 42" and 54" sizes.
- Floral pins or reusable plant tape to secure the stems.
- A spray bottle or mister to keep the moss damp.
Step 1: Find the nodes and aerial roots
Look along the stem for nodes, the slightly swollen points where leaves and aerial roots emerge. These are what you want touching the moss. When a node sits against damp moss, its aerial roots can grow into the pole and anchor the plant.

Step 2: Position the pole behind the plant
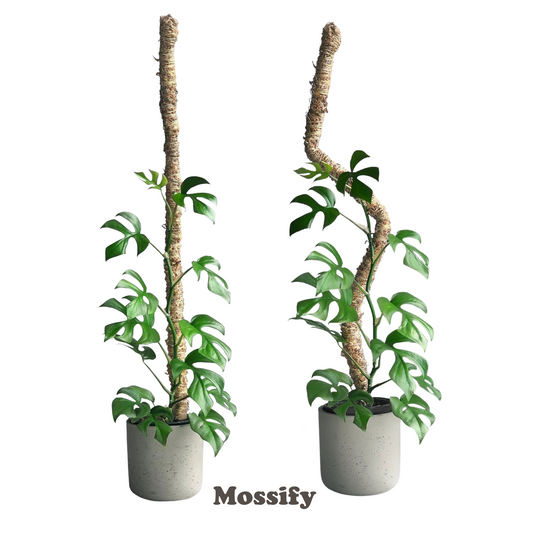
Place the pole on the side the plant leans away from, so the stems naturally rest against it. If you are repotting, set the pole in first and add soil around it. With the Bendable Moss Pole™, the solid stone base keeps it stable before you even add soil. If you are adding a pole to an existing pot, slide it in gently close to the main stem, avoiding the thickest roots.
Step 3: Shape the pole to the plant
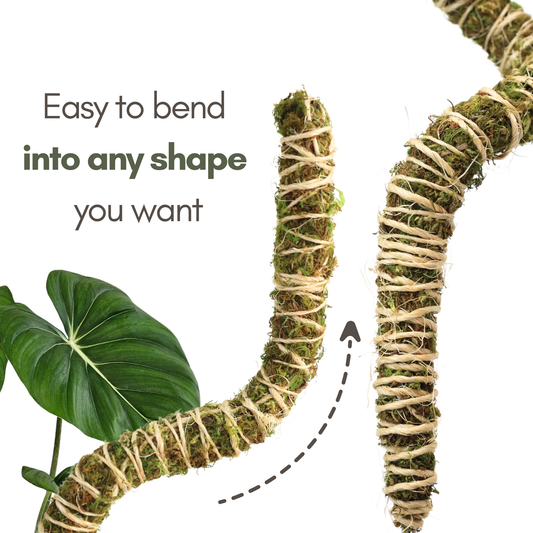
This is where a bendable pole makes life easier. Instead of forcing a sprawling plant onto a straight stick, bend the pole to follow the plant's natural line: a gentle curve, an S-shape or a lean toward the light. The galvanized steel frame holds its shape and will not harm the plant.
Step 4: Secure the stems
Attach the stem just below a node so the node presses into the moss.
- Floral pins: push the pin over the stem and into the moss at a 45° angle. Pins hold firmly and disappear into the moss. Do not pierce the stem itself.
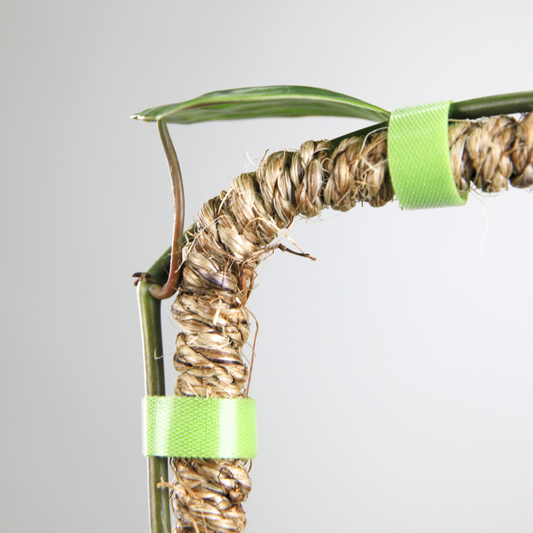
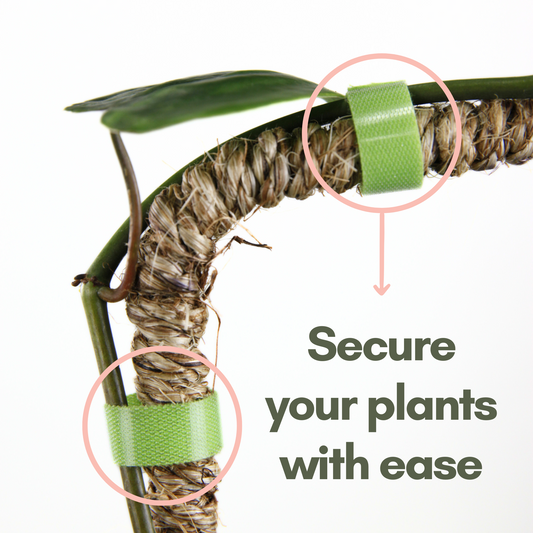
- Plant tape: wrap a strip around the stem and pole, snug but not tight. Our tape is soft, reusable velcro, so you can loosen and reposition it as the plant grows.

Step 5: Moisten the moss
Aerial roots only grow into moss that stays damp. Mist the pole every few days, or whenever it feels dry to the touch. Higher humidity around the plant helps too. Our guide on raising humidity for houseplants has more ideas.
Step 6: Train new growth
Every few weeks, attach the newest section of stem to the pole. Once aerial roots have grabbed onto the moss, you can remove the pins or tape from older sections.
Ready to give your plant something to climb?
The Original Bendable Moss Pole™ includes floral pins and a solid stone anti-lean base, and it is rated 4.9 stars by plant parents.
Shop the Bendable Moss Pole™Frequently asked questions
How long does it take for a plant to attach to a moss pole?
Most climbing aroids start rooting into a damp moss pole within a few weeks, depending on the plant, light and humidity.
Should I use pins or tape?
Both work well. Pins disappear into the moss for a clean look. Tape is better for thicker stems and for repositioning. Many plant parents use both.
Can I attach a plant that is already large?
Yes. Choose a taller pole, bend it to match the plant's shape, and secure the main stems first, then the side shoots.
For more help choosing the right height, read how tall your moss pole should be.
Free shipping on orders over $99, a free gift on orders over $150, and we plant a tree with every order.